安裝 React Native Apple Authentication
$ yarn add @invertase/react-native-apple-authentication
$ cd ios && pod install && cd ..
iOS
- 設定:
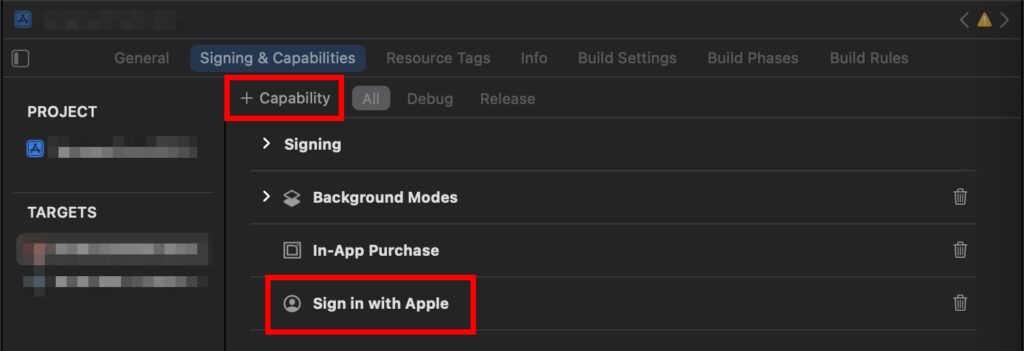
完整步驟 https://github.com/invertase/react-native-apple-authentication/blob/main/docs/INITIAL_SETUP.md - 程式範例:按照官方提供程式碼即可
- 測試:
- 須在實機測試
- full name 和 email 只有第一次登入會返回,第二次開始都是 null。要重新測試,在實機 Settings > Apple ID, iCloud, iTunes & App Store > Password & Security > Apps Using Your Apple ID > 選擇此 App > Stop Using Apple ID,重新登入就可以再次取得 full name 和 email
- 如果首次登入後只需要取得 email,full name 仍是 null
import { appleAuth } from '@invertase/react-native-apple-authentication';
import { jwtDecode } from 'jwt-decode';

const appleAuthRequestResponse = await appleAuth.performRequest({
requestedOperation: appleAuth.Operation.LOGIN,
requestedScopes: [appleAuth.Scope.EMAIL, appleAuth.Scope.FULL_NAME]
});
// other fields are available, but full name is not
const { email, email_verified, is_private_email, sub } = jwtDecode(appleAuthRequestResponse.identityToken)
Android
- 設定:android 需要額外設定,因為 android 是藉由 web authentication 方式
參考 https://github.com/invertase/react-native-apple-authentication/blob/main/docs/ANDROID_EXTRA.md- 參照 iOS 版完整設定
- android 額外設定:
- 新增一個 Service ID 綁定主 App ID
點擊“+”新增 > 勾選“Services IDs” 到新增完成 - 點擊剛剛新增的 Services ID > 勾選 “Sign In with Apple” 後點擊旁邊的 “Configure”
Return URLs 按需要填寫 ex. https://abc.com/apple-auth/callback
Return URLs 會被套件攔截不會真的被使用,只要 domain 相符即可
- 新增一個 Service ID 綁定主 App ID
